History: MultilangVB6QuickTour
Preview of version: 6
Multi-Language Add-In for Visual Studio
Plugin execution pending approval
This plugin was recently added or modified. Until an editor of the site validates the parameters, execution will not be possible.
Plugin execution pending approval
This plugin was recently added or modified. Until an editor of the site validates the parameters, execution will not be possible.
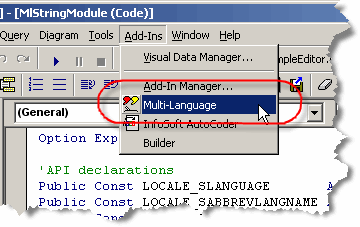
This menu item activates the Add-In and shows it in a tool-window. Like other tool windows in Visual Basic, you can dock this window at any side of the main Visual Basic window. It's probably best to place it at the bottom, in a wide format.
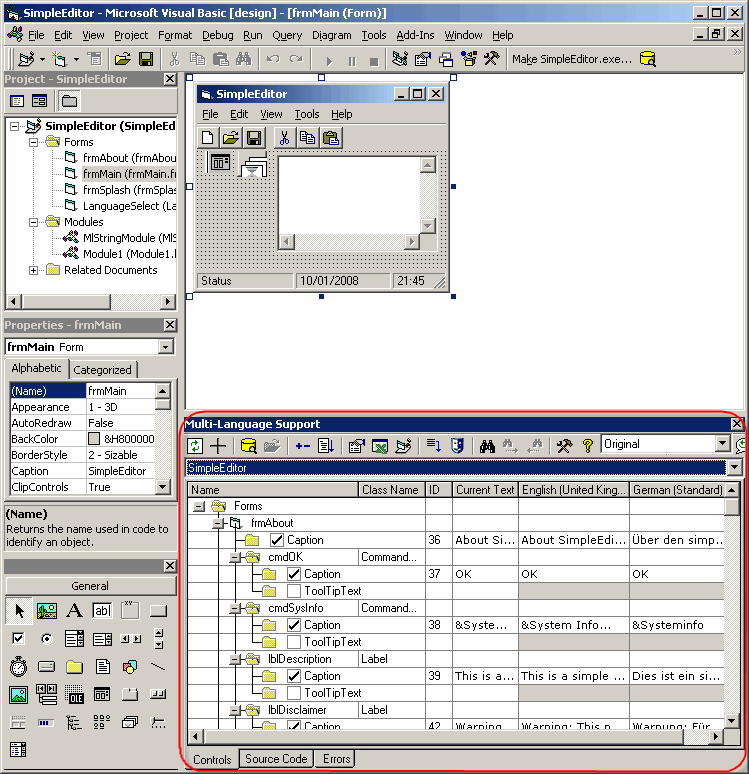
You may close the window at any time and reopen it using the Add-Ins menu.
Selecting a project
In Visual Basic, you may work with a project group containing multiple projects. However, the Multi-Language Add-In always works with a single project. To get started, you must first select a project. There are two ways to do this.
| from a dialog | When you select the Add-In from the Add-Ins menu, it will probably show a list of the projects in a dialog. Simply select the project and click on OK. 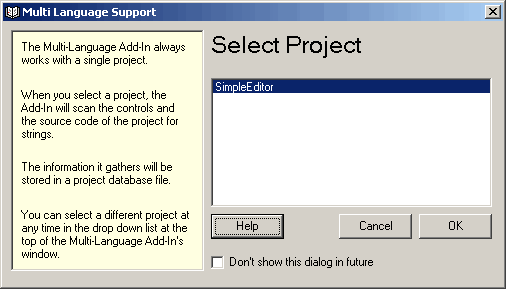
This dialog can be disabled, so if somebody else has already worked with the Add-In, it might not appear. |
| from a drop down list | At the top of the Add-In's main window, just below the toolbar, there is a drop down project list 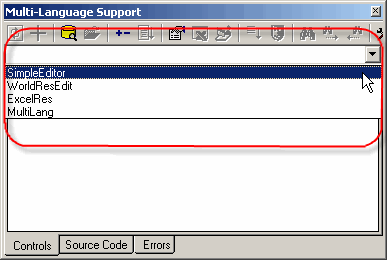
You can select a different project at any time from this list. |
Initialising the project for localization
|
When you select a project for the first time, you must specify what the original language of the project is. You can select the language from a drop down list containing all of the languages supported by Windows. It is also possible to specify a non standard language, but this is not recommended. |
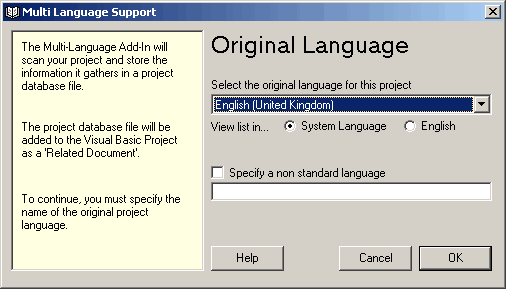
|
| <project name>_ml.mdb | This is the project database used by the Add-In. It is added to the project as a related document. |
| mlstring.vb | This module contains support functions, in particular the function ml_string(), which is used to load localized strings. |
Scanning the project
The Add-In will now scan the project. This is performed in two phases:
- scanning source code
- scanning controls
In the first phase, the source code of the project is scanned for texts which may require translation. In the second phase, the controls in each Form, UserControl and UserDocument are scanned for properties containing strings.
The results of the scan are displayed in two separate grids in the Add-In's window. You can switch between these grids using the tabs at the bottom of the window.

Adding a second language
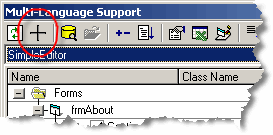
To add a new language to the project, click on the  symbol on the Add-In's toolbar
 |
|
|
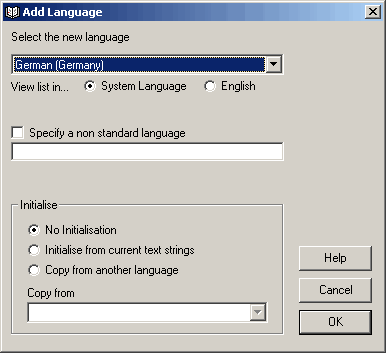
This brings up a dialog with which you can add a new language to the project. You can select a language from a drop down list showing all of the languages supported by Windows. Then simply click on OK to add the language to your project. If you wish, you can initialise the texts in the new language based on the texts for another language, but this is not recommended. |
- add a new column to the grids for the new language
- search for translations of common texts such as OK and Cancel in the Global Translations Database
Now we will take a closer look at the two grids.